10 Easy DIY Projects to Beautify Your Backyard Space
Ready to transform your backyard into your personal oasis? In this post, I’ll share 10 easy DIY projects that can add charm and beauty to any outdoor space. From crafting vertical gardens to building cozy fire pits, these projects are simple and rewarding. Gather your supplies, roll up your sleeves, and let’s enrich your backyard with fun creativity! Your perfect outdoor retreat awaits!
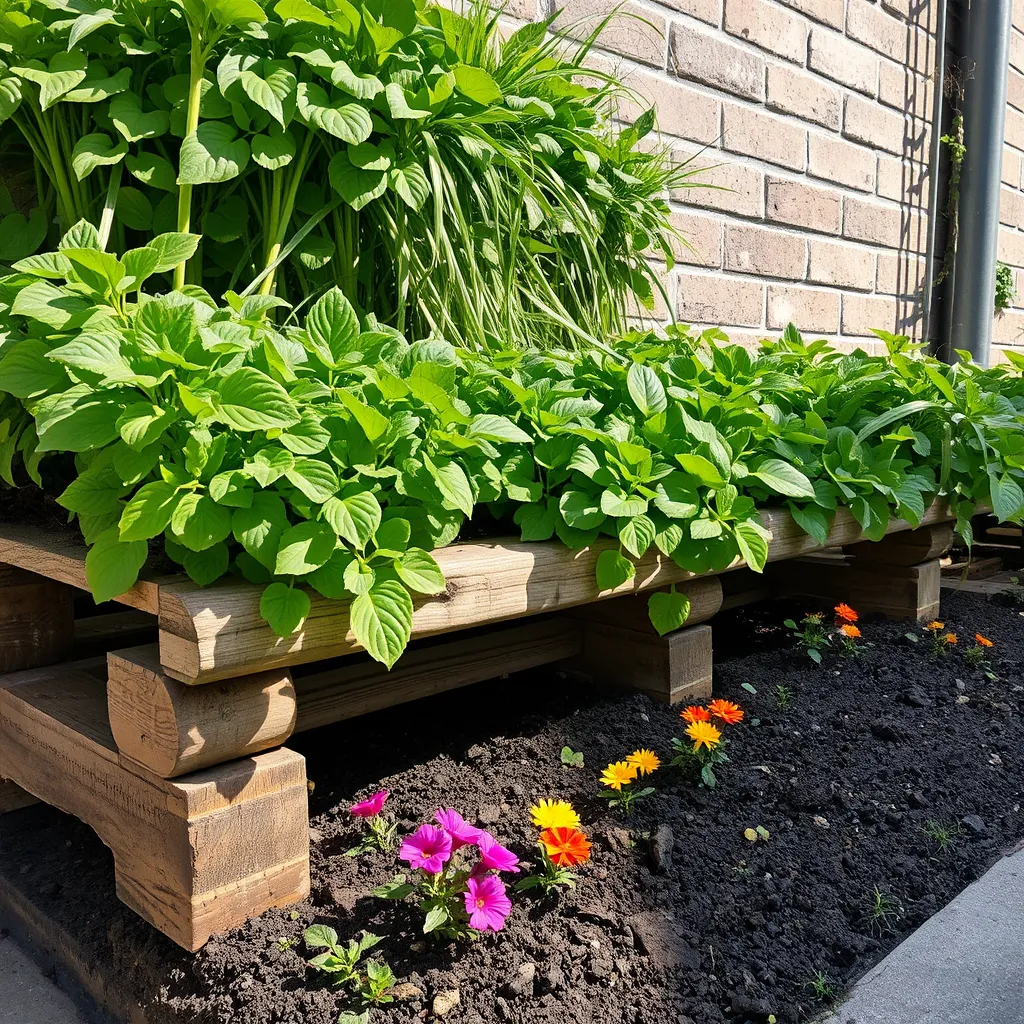
Create a Vertical Garden for Small Spaces

Creating a vertical garden is a fun way to add green to your space. It works well if you have limited room.
Materials Needed
– Wooden pallets
– Potting soil
– Assorted plants
Step-by-step instructions for assembly and planting
1. Choose your pallet. Find a clean wooden pallet. Make sure it is safe to use.
2. Prepare the pallet. Lay the pallet flat. Clean it well to remove dirt and debris.
3. Add potting soil. Fill the gaps in the pallet with potting soil. Use enough soil to hold the plants.
4. Select your plants. Choose small plants like herbs or flowers. Make sure they fit well in the spaces.
5. Plant the flowers. Place the plants in the soil-filled gaps. Press the soil gently around them.
6. Stand up the pallet. Lean the pallet against a wall or fence. Ensure it is stable and secure.
Tips for proper maintenance and watering
– Water regularly. Check the soil moisture. Water when it feels dry to the touch.
– Use a spray bottle. Mist the plants to keep them fresh. This helps in hot weather.
– Pick the right spot. Place your garden where it gets good sunlight. Most plants need 6 hours of light daily.
– Rotate plants. If some plants grow faster, swap them out. This keeps the garden looking fresh.
This easy project will help you enjoy a beautiful garden, even in small spaces.
Build a DIY Fire Pit

Materials Needed:
– Fire pit kit
– Gravel
– Pavers (or bricks)
Pick a safe spot for your fire pit. Avoid low areas or spaces near flammable items. A flat surface works best. Place the fire pit at least 10 feet from your home and any trees.
Once you choose the site, mark the circle for the pit. Dig a hole about 6 inches deep. Add gravel to the bottom for drainage. Next, set your fire pit kit in the hole.
Use pavers or bricks to build the outer ring. Start stacking them around the fire pit. Make sure they are stable and level. You can add more layers for height.
Safety is key. Keep a bucket of water or sand nearby. Always supervise the fire. When you are done, let the fire burn out completely.
For a unique look, consider different designs. You can use stones or bricks in various colors. Add seating around the fire pit for comfort. Enjoy your new backyard feature!
Construct Decorative Garden Edging

– Materials Needed: Stones, bricks, or wood logs
To start, gather your materials. Choose stones, bricks, or wood logs. Each option gives a different look. Think about color and texture when picking your materials.
– Instructions on how to measure and lay out your garden border
First, decide where your garden edge will go. Use a measuring tape to mark the area. You can use stakes or spray paint to outline it. Next, dig a shallow trench along the edge. This will help hold your stones or bricks in place. Lay them in the trench. Make sure they fit snugly together. Adjust as needed to get a nice, even look.
– Ideas for creative designs and color combinations
Get creative! Mix different colors of bricks or stones for a fun look. You can also alternate sizes for more interest. Consider using wood logs for a rustic feel. Paint the logs for a bright pop of color. Try curving your edging instead of making it straight. This adds a unique touch to your garden.
Install a Simple Bird Feeder

Materials Needed:
– Wooden boards
– Nails
– Wood glue
– Paint (optional)
Directions for Building the Bird Feeder
To start, cut the wooden boards into six pieces. Use one board for the bottom, two for the sides, and two for the roof. Make sure the roof has a slight angle. Assemble the pieces with nails and wood glue. If you want, paint it to match your yard.
Next, hang the feeder from a tree branch or a pole. Make sure it is high enough to keep birds safe from pets. Fill it with birdseed. You can also add some bird-friendly plants nearby, like sunflowers or berry bushes. These plants will attract more birds and create a pretty view.
Advantages of Attracting Local Wildlife to Your Backyard
Adding a bird feeder brings joy to your space. You can enjoy watching birds come and go. This also helps local wildlife by providing food. Birds eat pests and help your garden grow. Plus, it connects you to nature right in your own yard.
Create a Relaxing Hammock Space

Materials Needed:
– Hammock
– Sturdy trees or posts
– Rope
To set up your hammock, first find two strong trees or posts. The distance between them should be about 10 to 15 feet. Make sure they are healthy and have no weak spots.
Next, tie one end of the rope to the first tree. Use a secure knot, like a bowline knot. Pull the rope to the second tree and tie it there too. The hammock should hang low but not touch the ground. A good height is about 18 inches off the ground.
Once your hammock is secure, test it gently. Sit in it slowly to ensure it holds your weight. Adjust the ropes if needed.
For a cozy touch, add some decorative elements. You can hang lanterns from branches. String lights around the area for a soft glow. Pillows can make it comfy, too. A small side table can hold drinks or snacks.
This space will be perfect for reading or relaxing. Enjoy your new hammock setup!
Make DIY Outdoor Lighting

To create beautiful outdoor lighting, you need a few simple materials. Gather solar lights, hanging jars, and string lights. These items are easy to find at local stores or online.
Step 1: Choose Your Areas
Think about where you want the light. Good spots include pathways, seating areas, and trees. Make sure the lights shine where you need them.
Step 2: Set Up Solar Lights
Place solar lights along paths or around flower beds. The sun will charge them during the day. They will glow at night without needing any wires.
Step 3: Hang Jars
Use jars to create charming hanging lights. Fill jars with fairy lights or candles. Hang them from branches or hooks. This adds a magical touch to your space.
Step 4: String Lights
String lights can wrap around trees or fences. Use clips to hold them in place. Make sure they are secure, so they don’t fall.
Tips for Ambiance
To make your space cozy, layer the lights. Use a mix of heights and styles. Soft, warm lights create a nice mood for gatherings. Enjoy your new outdoor space with friends and family!
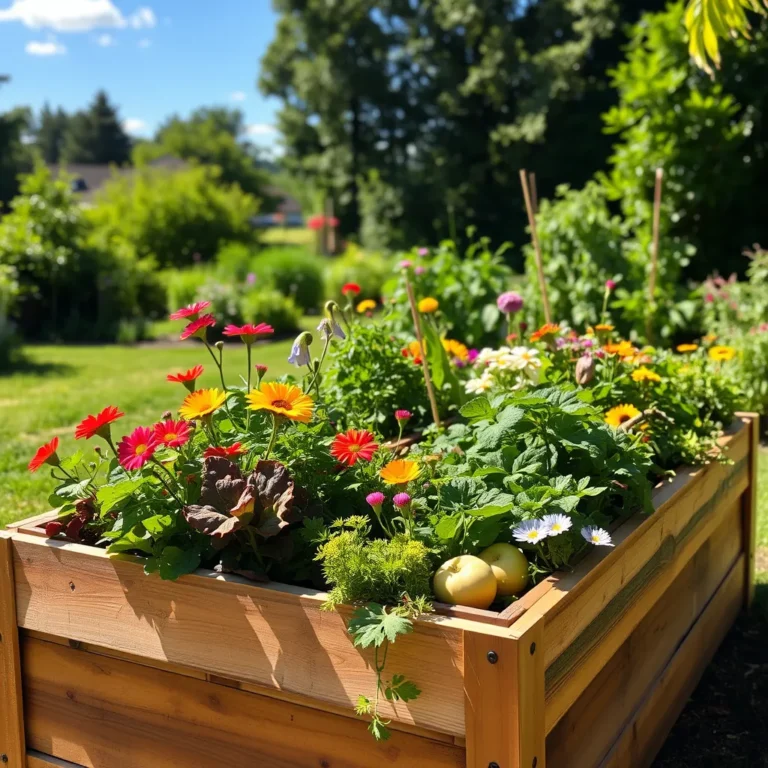
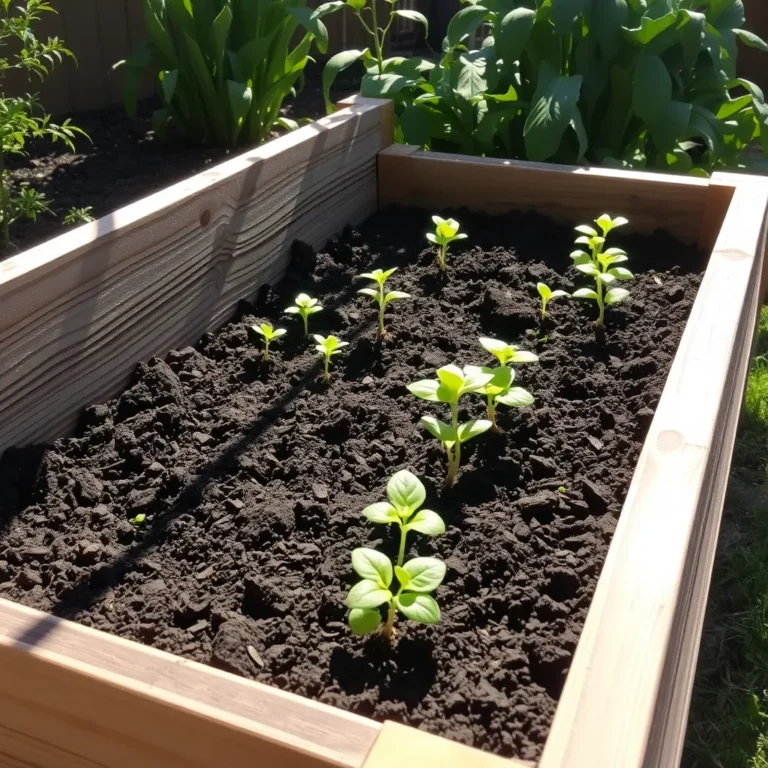
Construct a Simple Raised Garden Bed

Materials Needed:
– Wooden planks
– Soil
– Plants of choice
Building a raised garden bed is fun and easy. First, choose a sunny spot in your yard. Use wooden planks to create a rectangular shape. Cut the wood to your desired size. You want it to be at least 12 inches deep. This depth helps roots grow strong.
Next, use screws to hold the corners together. Make sure it’s sturdy. Place the bed on level ground. Fill it with soil. I like to mix in compost for extra nutrients. Now, it’s time to choose your plants. Consider herbs, vegetables, or flowers. Herbs like basil and mint grow well in raised beds.
Raised garden beds offer many benefits. They make gardening easier on your back. You can control the soil quality better. Plus, they help with drainage. This means your plants stay healthy and happy. You’ll love watching them grow!
Build a Rustic Garden Bench

Materials Needed:
– Wooden pallets or planks
– Screws
– Wood stain
To build a rustic garden bench, start with wooden pallets or sturdy planks. First, gather your materials. You want to choose strong wood that can hold weight. Next, cut the wood to your desired length. A bench that is 4 to 5 feet long works well.
Now, assemble the pieces. Use screws to connect the planks for the seat. Make sure they are tightly secured. Add legs by cutting 4 pieces of wood to the same length. Attach these to each corner of the bench.
Once your bench is stable, it’s time to stain it. Choose a wood stain that complements your backyard. A warm brown or deep gray can fit nicely. Apply the stain with a brush and let it dry completely.
For extra flair, think about adding cushions. Bright colors can make your bench pop. You can also paint the wood in fun colors. This adds a personal touch that matches your backyard decor. Enjoy your new cozy spot!
Design a Unique Outdoor Chalkboard

Materials Needed
– Plywood
– Chalkboard paint
– Wood frame
Instructions
First, cut the plywood to your desired size. I recommend a rectangle about three feet wide. Next, apply chalkboard paint evenly on one side. Make sure to cover all areas. Let it dry completely before the next step. Once dry, attach the wood frame around the edges. Use wood glue or screws for a strong hold. Finally, hang your chalkboard in a visible spot using sturdy hooks.
Suggestions for Fun Uses
You can write fun messages or reminders. This is great for parties or family gatherings. Kids will love drawing their artwork. You can also use it for games like tic-tac-toe. Your chalkboard can be a fun and creative way to share ideas with family and friends.
Create Colorful Flower Pots from Recycled Materials

Materials Needed:
– Old containers
– Paint
– Drainage rocks
– Soil
You can make colorful flower pots from things you already have. First, find old containers like cans or jars. Clean them well to get rid of dirt. Next, use paint to make them bright and fun. This step is where you can show your style.
After painting, add drainage rocks at the bottom. This helps water flow out and keeps plants healthy. Now, fill the pot with good soil. Choose plants that fit in your pot. For small pots, pick small flowers or herbs. Larger pots can hold bigger plants.
When selecting plants, think about sunlight and water needs. Some plants like shade, while others need full sun. Check if plants need lots of water or just a little. This helps them grow strong.
These colorful pots will brighten your backyard. They add charm and show off your creativity. Plus, it’s a fun project that helps the environment!
Conclusion
Creating a beautiful outdoor space is within reach. We covered vertical gardens, fire pits, and bird feeders you can build yourself. You learned about raised garden beds and unique outdoor décor to personalize your space. Each project adds fun and style to your yard. Enjoy the process and let your creativity shine. With these simple steps, you can transform your outdoors into a haven for relaxation and joy. Dive in, and make these ideas your own!